Sunday, August 26, 2012

My Precious QAL August Link Up & Giveaway!

I'm so very sorry I'm late in posting the link up/giveaway this month!  Things got a little hectic around here with my oldest starting Kindergarten and my youngest starting pre-school!  If you need a refresher on what this is all about, click HERE.  For the final month of the QAL we have some pretty fab prizes to giveaway!

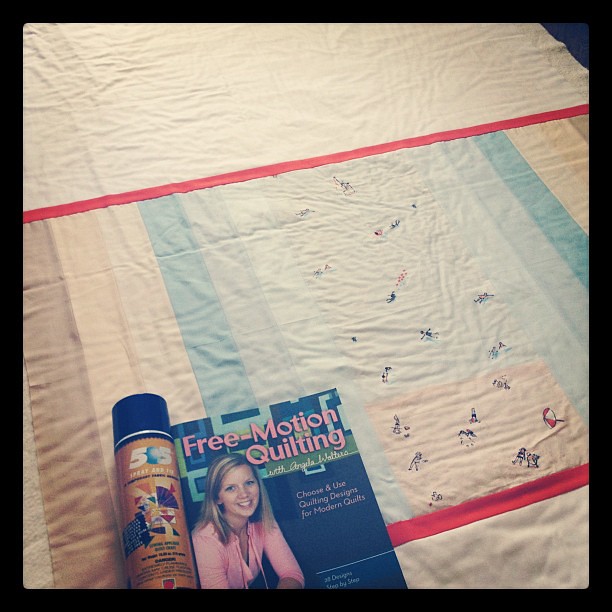
1.  I'm donating Quilting Modern!  This is a great book with lots of fun modern quilt ideas!

2.  A $25 gift certificate to Fat Quarter Shop!  You would have to be living under a rock to not know about Kimberly and her sweet group of helpers that run FQS!  Lightening.Fast.Shipping!

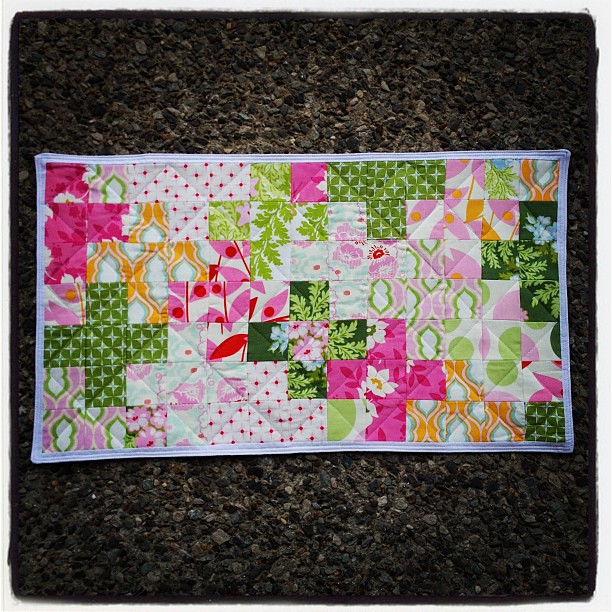
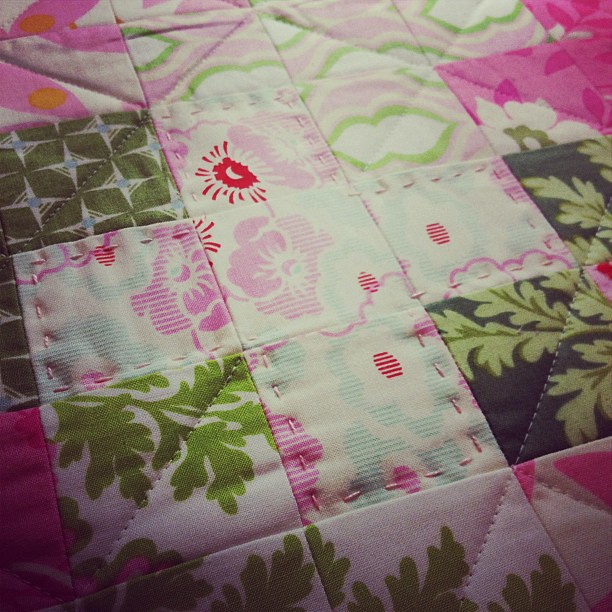
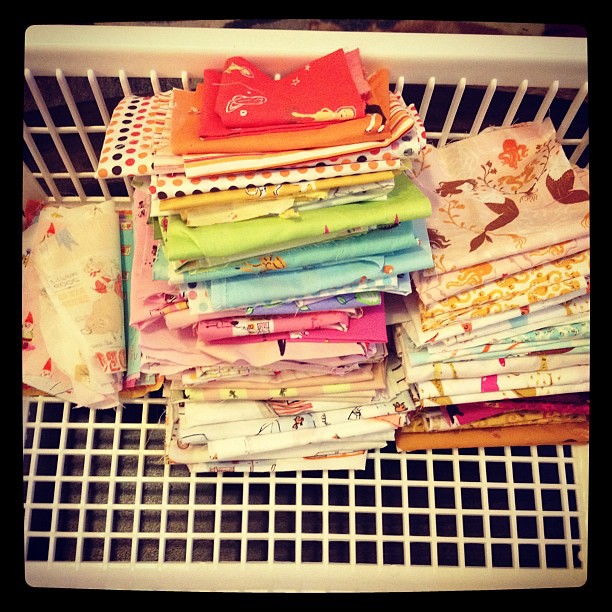
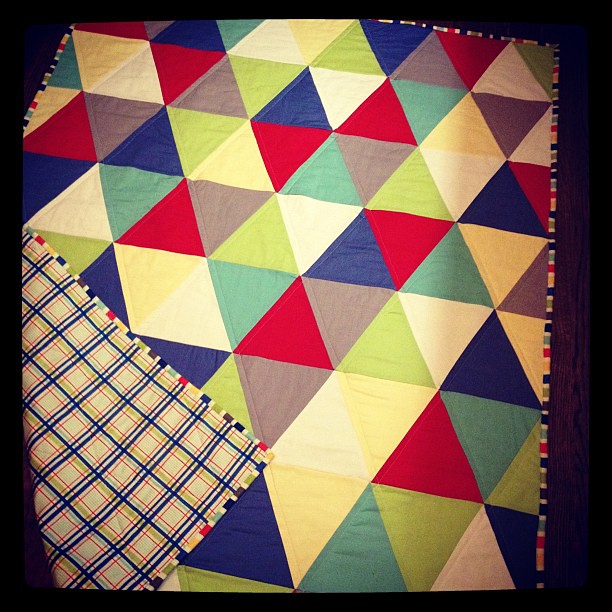
3.  Katie of Swim, Bike, Quilt! is donating lots of yummy squares (at least 50) she had left over from this masterpiece:
Closeup
Do you see how much Heather Ross is in that quilt???  She promises lots of goodies, no filler!  Yeah, Katie is super generous!  Speaking of generous, Katie is also the creator of 100 Quilts for Kids, which is a quilt drive meant to encourage all of us to make a donate quilts to our local children's charities.  Katie posts lots of great ideas for small quilts and even gives tutorials.  So hop on over there and check it out!  Discover how you can contribute to your community AND possibly win some fantastic goodies!!!

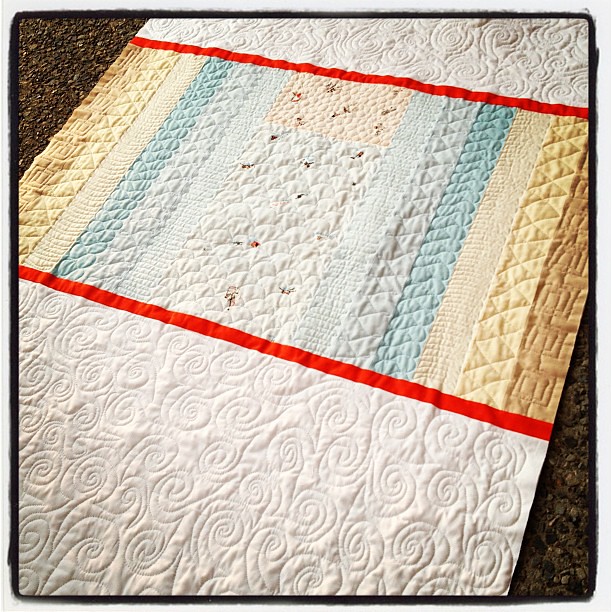
4.  Katie is also donating a YARD of this hard to find gem:

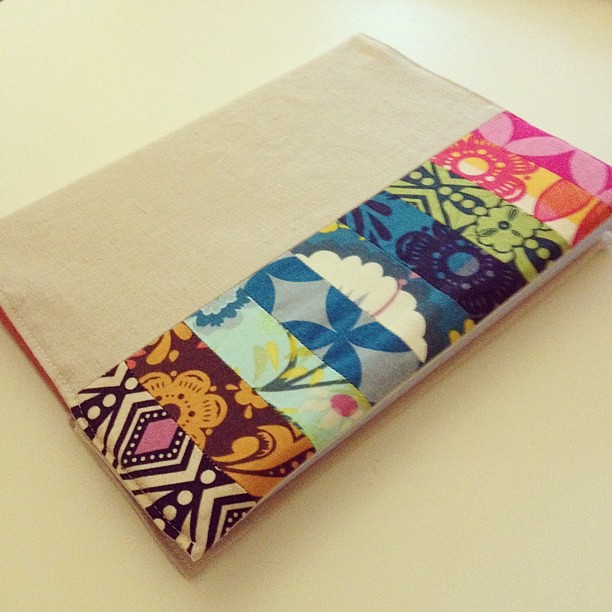
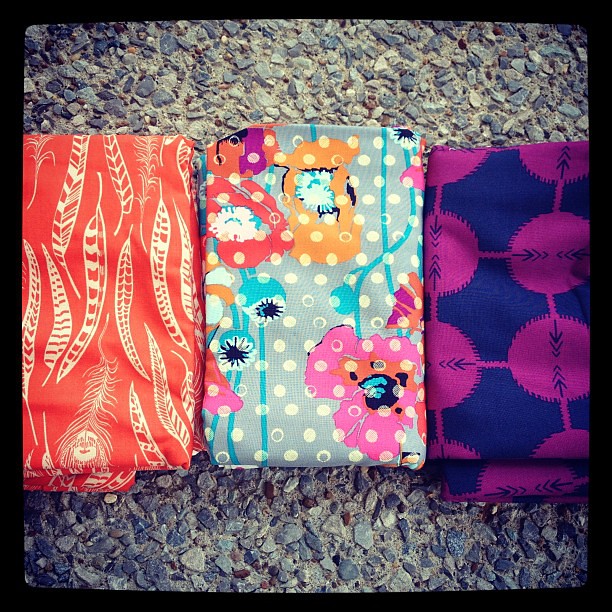
5.  Sarah of Bluprint Textiles is donatin1 copy of her Cathedral Window Pillow Pattern, 1/2yard cuts of the KJR big dot prints, and FQ's of some other super cute prints!  Pssst!  I spy some hard to find Summer in the City and Avairy 1 in there!


Ok kids!  You know what to do!  Link up here and show off those Precious projects.  Only ONE entry per person!  You have until September 2, 2012 at 11pm Central time to enter.


Wednesday, August 15, 2012

Festival of Hexagons: Boxy-Hexi Pouch

Festival of Hexies
I've been in a hexagon mood lately (if you follow me on Instagram you can see my traveling hexies) so when Ali asked me to participate in the Festival of Hexagons I was stoked! Check out Ali's blog for all the details (including prizes!!!)

Tutorials

Monday, Aug. 13
Ali from a²(w)
Tuesday, Aug. 14
Amanda from A Crafty Fox
Wednesday, Aug. 15
Kelly from Kelbysews<---that's me!
Thursday, Aug. 16
Terri from Sew Fantastic
Friday, Aug. 17
Jeni from In Color Order

Monday, Aug. 20
Lindsey from LRStitched
Tuesday, Aug. 21
Wednesday, Aug. 22
Michelle from Super Orange Sewing (formerly I Like Orange, Too)
Thursday, Aug. 23
Sara from Sew Sweetness
Friday, Aug. 24

Saturday, Aug. 25
Recap

Aug. 27 - Sept. 2
Link Party

Sept. 3 - Sept. 5
Voting

Friday, Sept. 7
Winners announced


Deciding what to make was a bit of a challenge.  I sort of flew by the seat of my pants, but I was pleasantly surprised by the results!  Don't you love it when that happens?  So I present you with the Boxy-Hexi Pouch!

I did not take pictures of how I assembled hexagon, but I can talk you through it.  Alternatively, you could cut one large hexagon with each side measuring 9.5".  
  1. Cut a center hexagon--I used a hexagon ruler--that measures 5.5" high, each side is 3.25" long.
  2. Cut 1 WOF strip that is 1.5" wide. Sew around the sides of the hexagon and trim using the method described in this Moda Bakeshop tutorial.  It's like making a log cabin with some extra trimming. :)
  3. Cut 2 WOF strips that are 3" wide.  Repeat method linked above.
  4. Cut 2 WOF strips that are 2.5" wide.  Repeat method linked above.


You should now have a hexagon that measure approximately 9.5" on each side.  Use your pieced hexagon to cut another hexagon from your lining fabric so they will be the exact same size.

Take a deep breath and cut your pieced hexagon and lining hexagon in half as shown in the above picture.  It's important you cut through the points, not through one of the sides!

Now it's just like any other zippered pouch.  I have a more elaborate tutorial for these here.  Place lining fabric right side up, put a 9" zipper right side up on top of the lining, and then place your pieced half hexagon right side down.

Pin the dickens out of it and sew 1/4" from edge.

Repeat for the other side: Lining right side up, zipper right side up, exterior right side down!


Press exterior and lining fabric away from zipper then top stitch on either side for a nice finished look and to keep the fabric from getting caught in the zipper.

OPEN UP YOUR ZIPPER!!!  Pin exterior pieces right sides together.  Pin lining pieces right sides together.  Fold the zipper toward the lining before pinning.  Sew around all sides using 1/4" to 3/8" seam allowance leaving a 3" hold at the bottom of your lining for turning.  Since the sides are 9.5" and you're using a 9" zipper (it's actually 10" with the tape), you will want to sew close to the zipper stops, but not past them or through them in order to get the best looking zipper ends.

This is where the boxy part comes in.  This method "boxes" the corners.  Pin all four corners together, matching the seams along the bottom and sides.  It helps to push the seam allowances in opposite directions and nest them.  Measure 1.5"to 2" (it's up to you, either is fine) down from the point and draw a line.  Sew along these 4 lines.  

Cut the corners off leaving 1/4" of fabric from the line you sewed. 

Turn the pouch right side out through the hole in the lining.  Use a turning tool if necessary to push out the edges near the zipper and the corners.

Ta-da! A cool shaped zipper pouch!

The bottom view!


If you decide to make one I'd love to see it!!!


Tuesday, August 14, 2012

Catch Up Via Instagram

I've gotten a bit lazy about blogging because I've gotten addicted to Instagram!  Here's a little catch up for you:

Coffee table topper for my MIL's b-day.
A table topper for my MIL's birthday

Close up of hand quilting
Added a little hand quilting too!

Quilted to the hilt! :)
Finished quilting the dickens out of this quilt!

Whoo hoo! Finished my new bag! #quiltndrinkparty
Made myself a new bag!

Off on an adventure with my new bag!
I love it and carry it all the time!

Um. Obsessed much? Scrap pack destash coming soon!
I sorted through this mess so I was only left with....

Down sized!
this!

Made a cover for my Mom Agenda!
Made a cover for my day planner!

Backing for my epic @annamariahorner quilt came today! Going to bind in a dark teal.
Bought backing for my EPIC Anna Maria Horner quilt I posted about earlier this month

Trying out a new layout in my sewing room!
I rearranged my sewing room

New home for my machine!
I love my machine here, except I have to use a stool for my foot pedal since the table is so high!

Salted pretzel toasted marshmallow bars! Thank you Food network!
I made these yummy salted pretzel toasted marshmallow bars (recipe on www.foodtv.com).  If you make them, they taste better if you refrigerate them when they are done, then put them out on the counter the next day to come up to room temp. 

Seaside inspired triangle quilt
Finished this quilt for my photographer friend.  I can't wait to see some cute babies on this one!

Whew!  More catch up to come!  Don't forget about the last month of the My Precious QAL and giveaway!!!!  Cut into that stash!


Saturday, August 4, 2012

Free Motion Madness!

I recently got Angela Walter's new book Free-Motion Quilting and I think I'm in love!  If you've read my blog for any length of time you know that I love to free motion quilt, but I've been stuck in a stippling rut.  Don't get me wrong, I love stippling, but I wanted to expand my FMQ horizons.  Let me preface my review by saying I'm in no way being compensated or rewarded for my statements.  I bought this book on Amazon last week and I've been obsessed ever since!  This is the only quilting related book I've read cover to cover!  I spent a few days practicing on my son's Magna Doodle and some paper, then I moved on to my (home, not a long arm) machine:

Practicing my flowers and leaves a-la @angelafmq for the first time!

eeeeek!   Quilting I actually like that isn't stippling!  I think my monster Anna Maria Horner quilt will be getting the flower treatment soon!

Basting and planning my @angelafmq attack!
I knew I had this quilt top in my closet just waiting for some cool quilting so I busted it out today and got to work!  Make no mistake, it takes work.  You have to invest some time into practicing before you get the hang of it.  I'm sort of impatient and probably didn't practice as long as I should have, but I was eager to get started!

Far from perfect, but way cooler than I could have done before @angelafmq !  Thanks for such a great book!
Fun, right?!?!?  Angela takes you step by step through how to make 28 different designs.  Some come more easily to me than others.  Anything that involves a point or straight line is hard for me, but that's ok!  I know I'll get better in time.

Learning to live with the imperfections. Practice makes perfect, right @angelafmq ?
I'm learning to live with my "mistakes" because they are a part of the process.  Plus, no one is really going to notice or care once the whole quilt is done!

Whew! Bottom half done! I hope I've done @angelafmq proud!
I managed to get half way though this quilt today and I hope to finish up tonight.  The swirls are a little disheartening to me since I quilt myself in a corner and have to find creative ways to fill the holes, but I'm pushing through because I know the next time I quilt swirls, I'll do better!  Is that enough cheerleading-ra-ra-you-can-do-it for you?  :)  All in all, I'm going to make the bold statement that this is the most valuable quilting book I've ever seen!  I guarantee I will pull this book out 10 times more than any other in my stash!  Remember, she can only show you the steps, you will have to put in the time and effort to practice, but if you do, I bet you'll see some awesome results!

Related Posts Plugin for WordPress, Blogger...